A background image sits behind everything in your scene. Use it for a backyard photo, a mood reference, or client context. It is not measured or scaled — if you need a drawing at true scale, use Import and calibrate a floor plan instead.
Before you start
Supported files: PNG, JPG, WebP, GIF, SVG
Maximum file size: 10 MB
You need edit access to the plan. The import button is hidden in view-only and shared guest links.
Steps
In the bottom toolbar, click the upload icon — the arrow pointing up out of a tray.
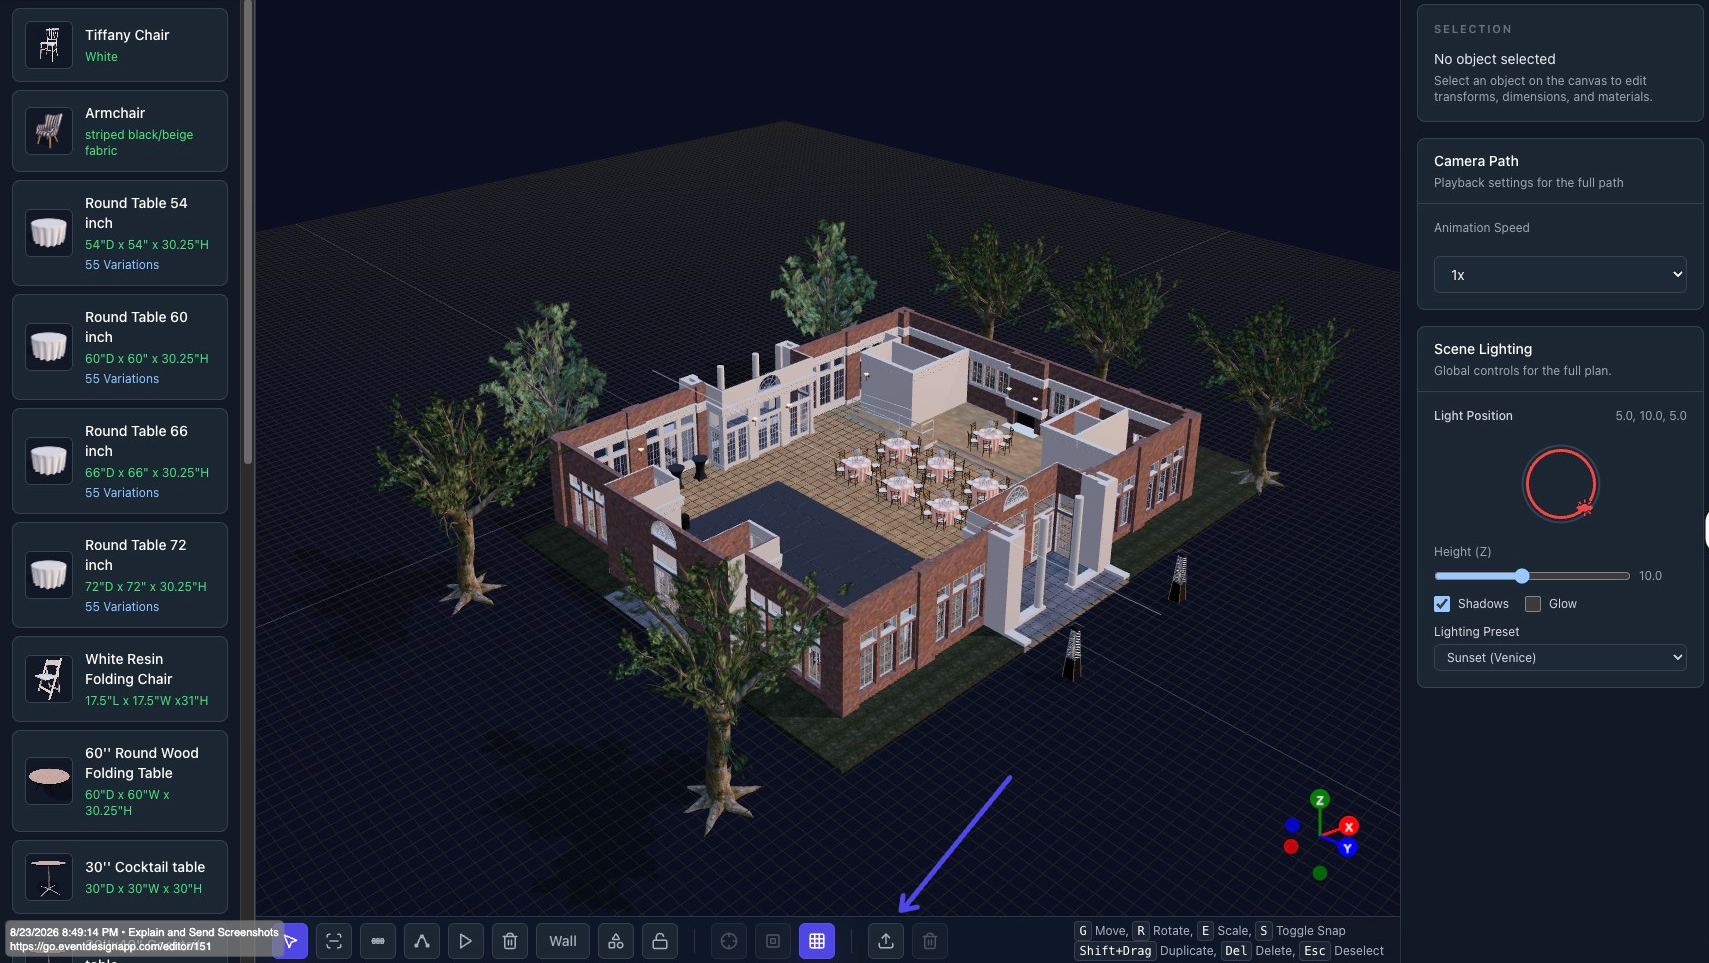
In the Choose import flow window, click Upload Background.
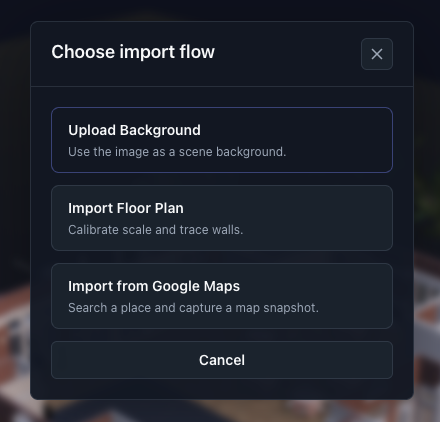
Pick your image file.
That's it — the image is applied as soon as the upload finishes. There is no placement step.
What a background image does
It fills the canvas behind your scene in both the 2D top view and the 3D view.
It is included in exported images and renders.
It does not sit on the floor, and it is not moved, scaled, rotated, or faded — those controls exist for calibrated floor plans, not backgrounds.
Uploading a new background replaces the current one and deletes the old file.
Replace or remove the background
Click the trash icon at the end of the bottom toolbar.
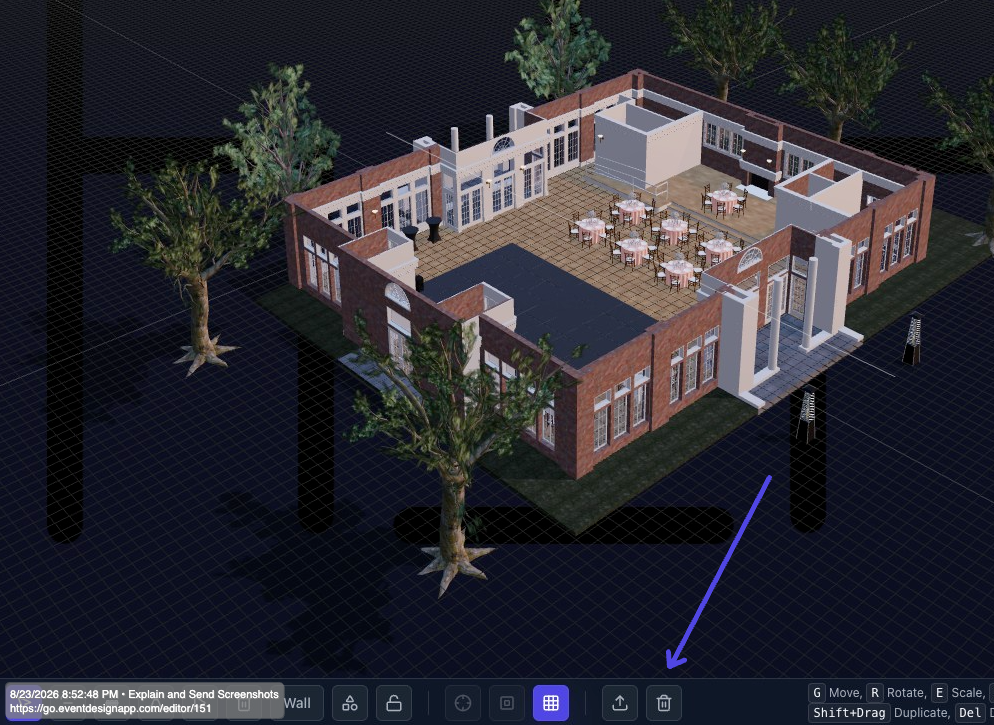
Click Remove Background to confirm and delete the background.
This deletes the uploaded file as well as clearing it from the plan.
Troubleshooting
"Please select a PNG, JPG, WEBP, GIF, or SVG image" — the file type isn't supported. Re-save it as a PNG or JPG.
"File size must be less than 10MB" — compress or downscale the image first.
The background disappeared — check whether Isolate is switched on in the toolbar. Isolate hides the background and the floor plan until you exit it.